Reactive digital printing on cotton, step by step
A reactive print is made in five stages, and only one of them is the printing itself. Here is what happens to the cloth at each step and why.
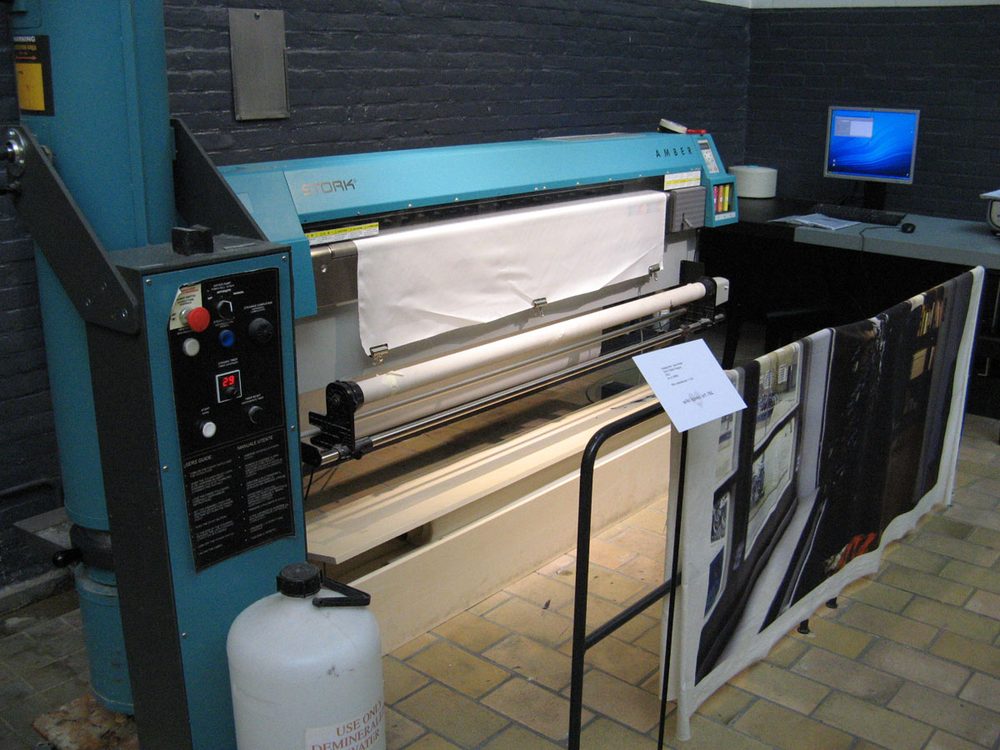
Reactive digital printing gives cotton the deepest colour and the softest hand of any printing method, because the dye bonds chemically with the fibre instead of sitting on top of it. That result depends on a chain of steps before and after the printer. A buyer who knows the chain can ask better questions and read a quote or a lead time with more confidence.
1. Preparing the fabric
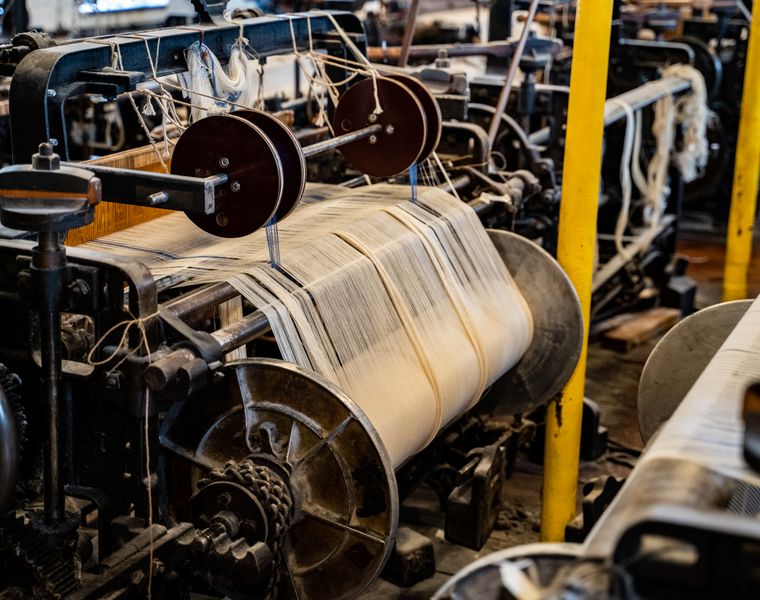
Greige cotton straight from the loom carries size, natural waxes and other impurities that block dye. It is first desized, scoured and usually bleached, so that the cloth is clean, white and evenly absorbent. For some designs it is also mercerised, which swells the cotton fibre, adds lustre and increases the amount of dye the fibre can take up.
The prepared cloth is then padded with a pretreatment: a thickener that stops the ink from spreading, an alkali that the reactive dye needs to bond, and auxiliaries such as urea that help hold moisture during steaming. The fabric is dried and wound, ready to print. Pretreatment has to be even across the width and along the roll, because any variation shows later as streaks or shade differences.
2. Printing
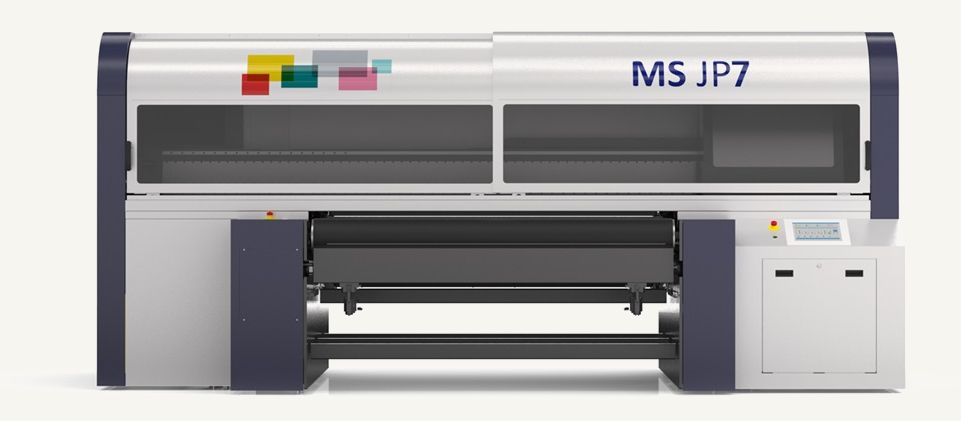
The digital printer places tiny drops of reactive ink onto the cloth, pass by pass, straight from the design file. There are no screens, so every colour in the artwork is available at once, and fine gradients and photographic images print as easily as flat shapes. The printed fabric is dried immediately so that wet ink does not mark the rollers or bleed into the neighbouring colour.
At this point the colour is on the fabric but not yet fixed. If the cloth were washed now, most of the dye would come out.
3. Steaming
Steaming is where the colour is made permanent. The fabric travels through a steamer, typically with saturated steam at a little over 100 °C for several minutes. Heat and moisture let the dye migrate from the pretreatment layer into the fibre, where the alkali activates the reaction and the dye forms a covalent bond with the cellulose.
Time, temperature and moisture all have to be right. Too little and part of the dye stays unfixed, which weakens the shade and the wash fastness. Too much, or a steamer that is too wet, and colours can bleed at the edges of the design.
4. Washing off
No reactive process fixes all of the dye. Some reacts with water instead of the fibre and is left loose on the surface, along with the thickener and chemicals from the pretreatment. The cloth is washed in a sequence of baths: cold rinses to remove thickener and salts, hot soaping to strip unfixed dye, then final rinses.
This is the step that decides whether a print will bleed onto white areas, stain a towel in the first domestic wash, or feel stiff. A well washed-off print has clean whites and a hand that feels like unprinted cloth.
5. Finishing
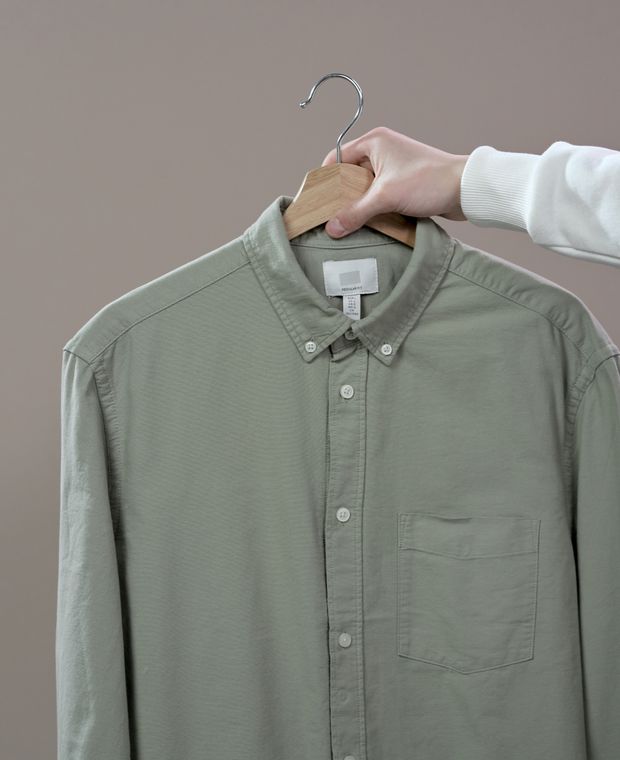
After washing, the fabric is dried and finished to suit its end use. A softener can be applied, the width is set on a stenter so the cloth is straight and at its specified width, and the fabric can be sanforised or otherwise compacted to control shrinkage. It is then inspected for print faults, shade and width, measured and rolled.
What this means for your order
- Lead time includes preparation, steaming and washing, not only printing time.
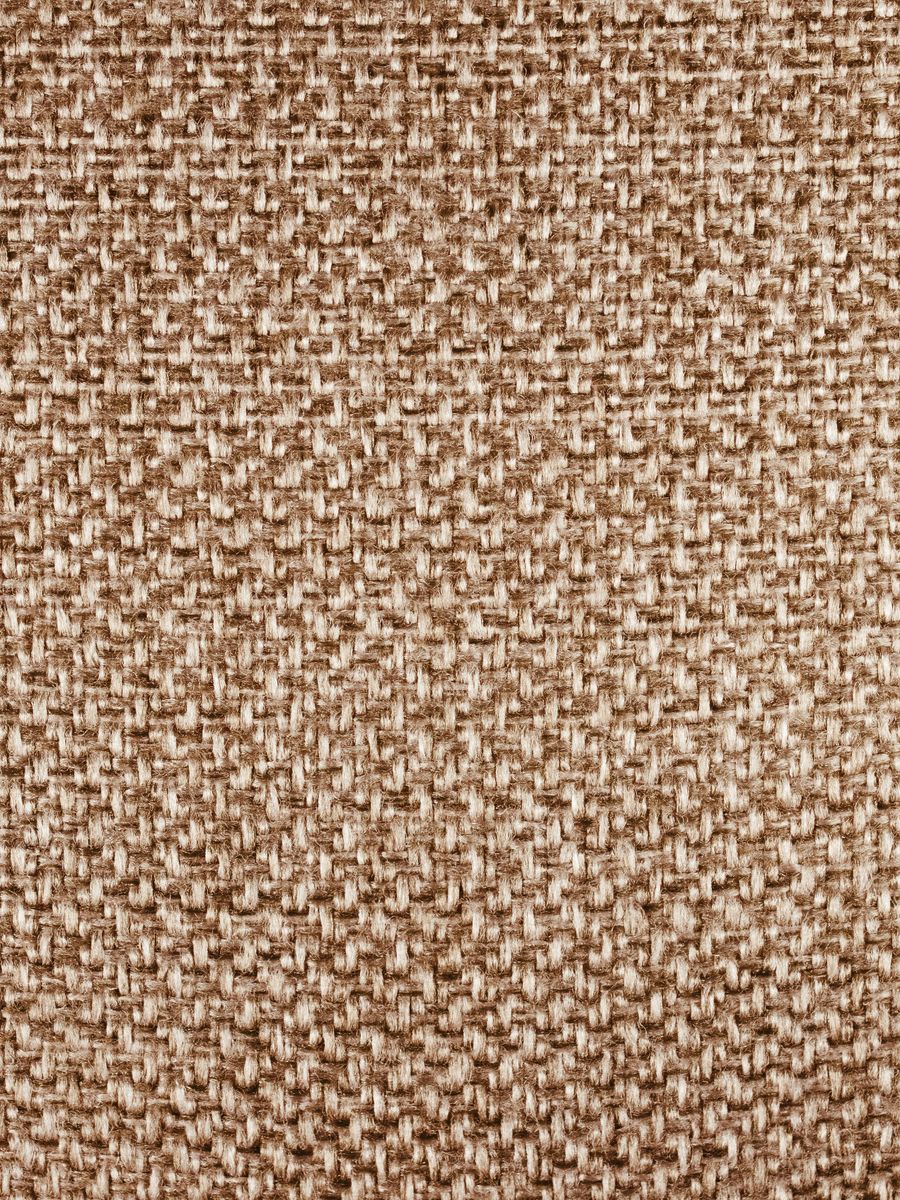
- The base cloth matters. The same file prints differently on panama, poplin or drill, so approve a strike-off on the fabric you will buy.
- Test the finished fabric, not the fabric before washing, when you check colour and fastness.
We print reactive in-house on our own cotton qualities, from curtain and tea towel fabrics to shirting. You can read more on our reactive digital printing page, or send us your design and the fabric you have in mind for a strike-off.