How to prepare artwork files for digital textile printing
Most delays in a printing order start with the file. This checklist covers resolution, colour mode, formats, repeat size and naming, so the first strike-off is close to right.
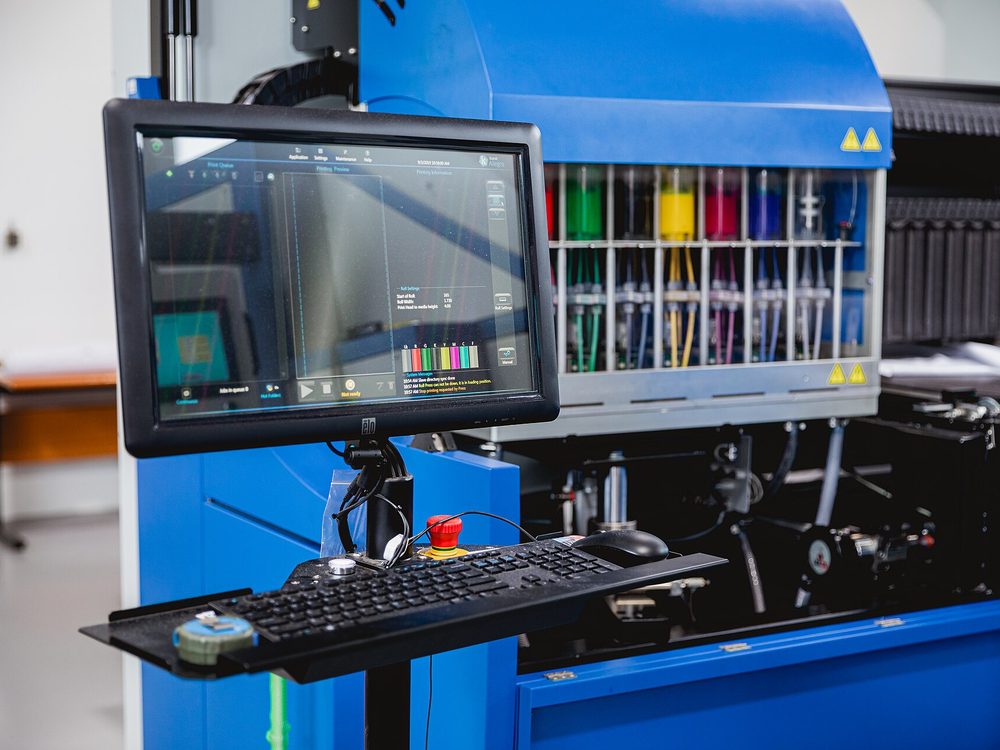
A digital textile printer will print exactly what it is given. If the file is too small, in the wrong colour mode or built on a repeat that does not suit the fabric, the problem appears on the cloth, usually after a sample has already been made. A few checks before sending artwork save a round of strike-offs and several days.
Resolution at print size
Resolution only means something at the size the design will be printed. A file that is 300 dpi at 10 cm wide is only 30 dpi if it is stretched across a 100 cm repeat. Always build and check artwork at 100% of the printed size.
- 150 dpi at print size is usually enough for soft, painterly or large-scale designs, especially on textured cloth such as panama or canvas.
- 200-300 dpi suits fine line work, small motifs, text and photographic images on smooth fabrics such as poplin and shirting.
- Increasing the resolution of a small file in software does not add detail. If the original is too small, it needs to be redrawn or rescanned.
Vector artwork (AI, EPS, PDF) has no resolution limit, but it is rasterised before printing, so it helps to supply it with fonts outlined and effects flattened.
Colour mode
Textile printers work with their own ink sets and colour profiles, which differ from paper printing. Supplying files in RGB generally keeps the widest range of colour and lets the printer convert to its own inks. CMYK files made for paper often look dull on fabric because they have already been squeezed into a smaller range.
The screen is not a reliable guide to the printed colour. If a shade matters, give a physical reference, such as a Pantone textile (TCX) number or a fabric or paper swatch, and approve colour on a strike-off rather than on a monitor. Keep an embedded colour profile in the file so it is read consistently.
File formats
The safest formats for print are:
- TIFF, flattened, with LZW compression or none. The usual choice.
- PSD, if the printer is to adjust individual layers or colours. Name the layers clearly.
- PDF or AI for vector designs.
Avoid heavily compressed JPEG files for final artwork, because compression leaves blocky marks that are visible on smooth cloth. PNG is acceptable for flat graphics. Large files are best sent by a transfer service rather than by email.
Repeat size and fabric width
Most printed fabric is a repeating pattern, and the repeat has to fit the cloth. Check the usable printing width of the fabric first: it is slightly less than the full width because of the selvedges. A repeat that divides evenly into that width, such as 32 cm, 36 cm or 72 cm on the relevant quality, avoids a part-motif at the edge. A repeat that is a little too wide either has to be scaled down or leaves an awkward cut motif along one side.
Placement designs, such as a tea towel with a border, a panel for an apron or an engineered curtain drop, are different. They are set out at the exact finished size, with seam and hem allowances marked, and positioned across the width so that as many pieces as possible fit side by side. If you are not sure of the width, ask for it before you build the file. Our shirting fabrics, for example, run from 144 to 158 cm depending on the quality.
Naming and versions
Clear names prevent the wrong version from being printed. A useful pattern is design name, colourway, repeat size and version, for example:
meadow_cw2_navy_rpt64x64cm_v3.tif
Send one file per colourway, keep the version number in the name rather than in the email text, and never reuse a file name for a changed design. If you order against a fabric code, quote the code alongside the file name.
Before you send
- Artwork at 100% of print size, at an adequate resolution.
- RGB with an embedded profile, plus a physical colour reference for key shades.
- Repeat checked for seams and matched to the printing width.
- Clear file names with colourway and version.
For short runs and first samples, pigment digital printing is the quickest way to see a file on cloth, and reactive digital printing gives the softest finish. If you are unsure whether a file is ready, send it to us with the fabric you intend to use and we will check it before sampling.