Designing a seamless repeat for printed fabric
A printed fabric is one tile repeated hundreds of times. The way that tile repeats decides whether the pattern flows or shows its joins.
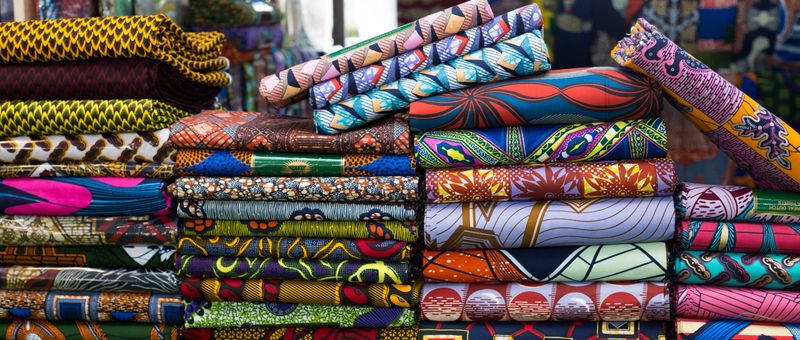
Almost every printed fabric sold by the metre is built from a single tile, the repeat unit, printed over and over along and across the cloth. The eye is very good at finding the edges of that tile. A well designed repeat hides them, so the pattern reads as one continuous surface. A poorly designed one shows lines, gaps or the same motif lining up in obvious stripes.
The main repeat types
- Block (straight) repeat. The tile is placed side by side and one above another, in a simple grid. It is the easiest to build and suits geometric designs and checks, but with scattered motifs it can create visible rows and columns.
- Half-drop repeat. Each column of tiles is shifted down by half the tile height. Motifs then fall on a diagonal, which breaks up rows and makes florals and scattered designs look more natural. It is the most common repeat in furnishing prints.
- Brick (half-brick) repeat. The same idea sideways: each row is shifted across by half the tile width, like brickwork. It suits designs with a horizontal flow.
- Mirror repeat. The tile is flipped horizontally, vertically or both, so that each edge meets its own reflection. Seams become almost invisible, and the result has a formal, symmetrical look that suits damasks and ornamental designs.
Drops other than a half, such as a third or a quarter, are possible too, and give a gentler diagonal.
Making the joins disappear
The standard technique is to offset the tile by half its width and half its height, so that the edges meet in the middle of the canvas. Any break in the drawing is then visible and can be painted over. After that the tile is offset back and checked again.
- Let motifs cross the edges of the tile rather than stopping short of them. Elements that stay inside the tile tend to leave a visible empty channel along the joins.
- Spread the visual weight evenly. A large, dark motif in one corner creates a repeating blotch that becomes a stripe across the cloth.
- Vary the direction and spacing of small motifs so that the eye does not find a line.
- Keep backgrounds with texture, gradients or grain continuous across the edges, as these are the first places a seam shows.
Checking a repeat before printing
Always look at the repeat as a length of cloth, not as a single tile. Tile it at least four by four on screen at the actual print scale and step back, or print it on paper and look from a few metres. Rows, stripes, holes and "tramlines" become visible only at that distance. Check the pixel edges too: a single-pixel line of the wrong colour at the tile border will print as a fine line every repeat.
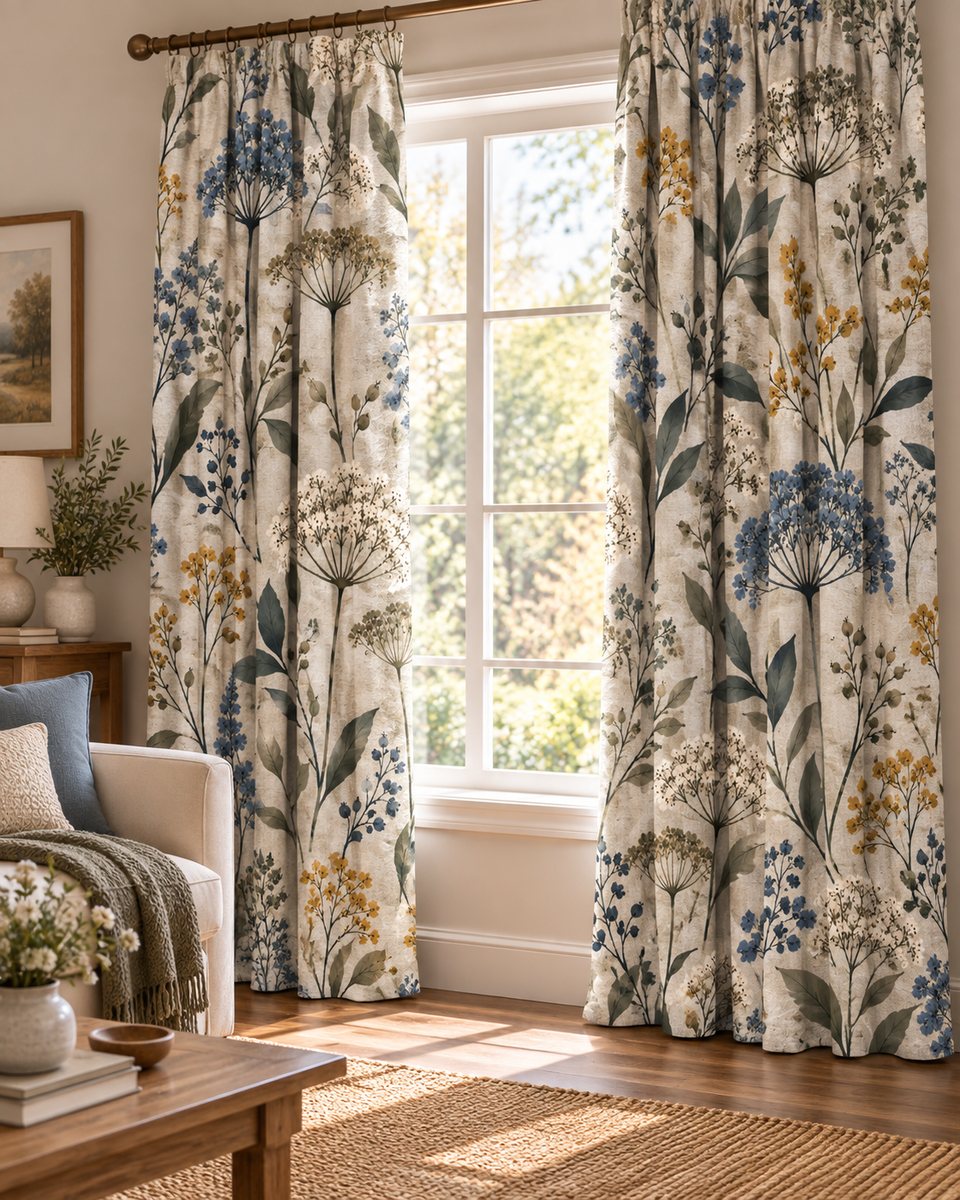
For a curtain, look at the drop as it will hang, since a strong horizontal or vertical line is magnified across a window. For a tea towel or apron, check how the repeat is cut by the product edges.
Repeat size and the fabric
The repeat also has to fit the printing process and the width:
- Digital printing accepts almost any repeat size, but a width that divides into the printable width of the fabric avoids a half motif at the selvedge.
- Rotary printing fixes the repeat length to the screen circumference, so a design that may move to rotary should be built to that length from the start.
- Scale should suit the product: a large-scale floral that works on a curtain may lose its main motif when cut into a small apron pocket or shirt collar.
Sampling the repeat
A strike-off of at least one full repeat, preferably two in each direction, shows the pattern on the real cloth before bulk. It is the cheapest moment to catch a seam or a scale problem. Our pigment digital printing is well suited to fast repeat trials, and our curtain fabrics take both digital and rotary printing. If you would like us to check a repeat before sampling, send us the tile and the intended fabric.