Placement and engineered prints for tea towels
An all-over print can be cut anywhere. A placement print has to land exactly on each tea towel, which means planning the panel, the hems and the cut before the file is built.
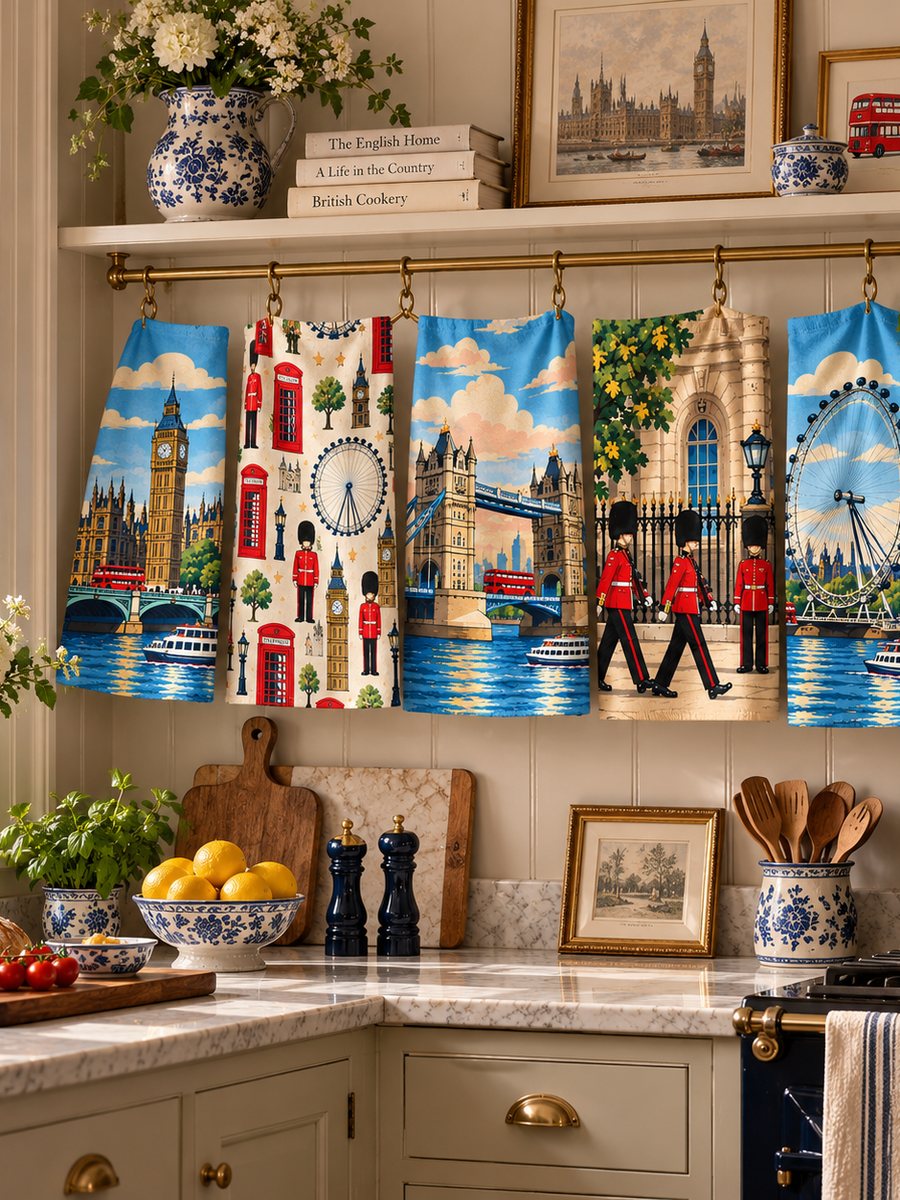
Many printed tea towels are not cut from an all-over pattern. They carry a border, a centred illustration, a title or a band of text placed on each towel exactly. This is a placement or engineered print: the design is built to the finished product, and the fabric is printed as a series of panels ready to be cut and hemmed. The approach gives a finished, deliberate look, but it only works if the layout accounts for the fabric, the hems and the cutting.
From finished size to panel size
Start from the finished towel and work outwards:
- Finished size. For example 50 x 70 cm.
- Hem allowances. A double-folded hem typically takes 2-3 cm per edge. On a 2 cm allowance, the example becomes 54 x 74 cm.
- Shrinkage allowance. If the towels will be washed after making up, or the fabric is not fully preshrunk, add the expected shrinkage in each direction. The figure should come from a wash test on the actual quality.
- Cut line. A thin line or corner marks between panels show the cutter exactly where to cut, and fall inside the hem so they do not show on the finished towel.
The result is the panel size in the print file. Everything that matters visually must sit inside the finished area, with a safe margin from the hem fold.
Fitting panels across the width
Panels are arranged side by side across the printable width, which is the fabric width less the selvedges. On a hypothetical printable width of 160 cm, a 54 cm panel fits twice with room to spare, while a 52 cm panel fits three times with 4 cm left over. A small change to the finished size can therefore change the cost per towel noticeably. Ask for the printable width of the quality before fixing the size, and plan to its lower tolerance.
Borders
Borders are the least forgiving element. A border that runs close to the hem will look uneven if the cut or the fold moves by a few millimetres. Two approaches help:
- Set the border well inside the finished edge, so small variations read as a margin rather than an error.
- Or run the ground colour into the hem allowance (a bleed) so that there is no white edge to go wrong.
Avoid fine keylines exactly at the fold, which are the first place a cutting tolerance becomes visible.
Centred motifs and text
A single central illustration should be centred on the finished towel, not on the panel with its hems, unless the hems are equal on all sides. Text needs to read correctly when the towel hangs, which usually means along the length, with the base towards the hanging edge or the bottom depending on how it is folded for sale. Check which side will face out in the packaging, since that is the first thing a customer sees.
Straight cloth and print method
Placement printing depends on the fabric running straight through the printer. Bow or skew in the cloth will make a border sit off the weave, and a finished towel will look crooked after the first wash when the cloth relaxes. Good preparation and stenter setting matter as much as the file.
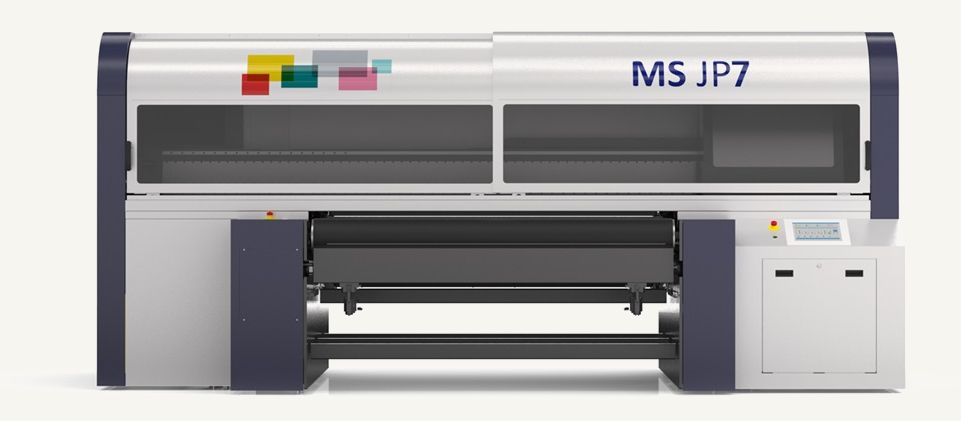
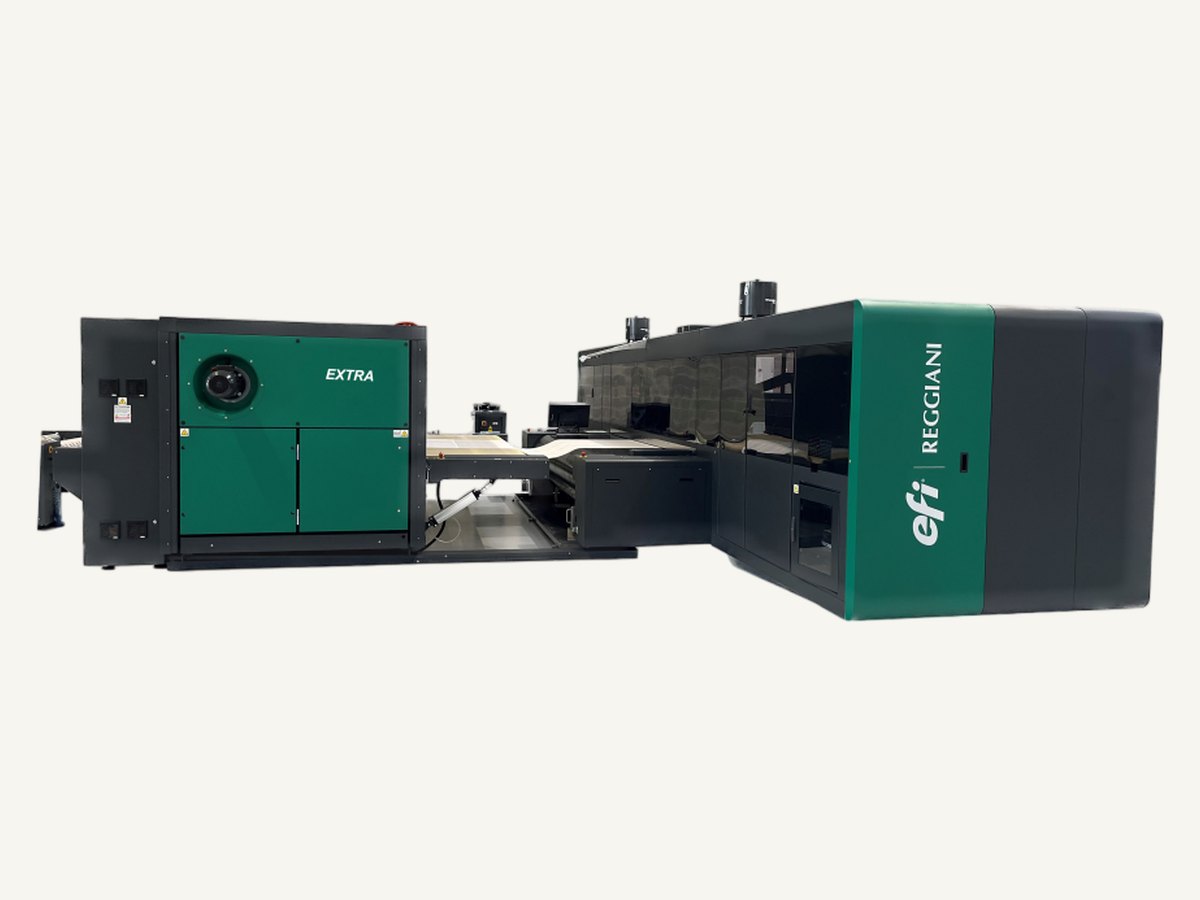
Digital printing suits placement designs well: every panel can be different, a run can mix several designs, and the panel length is free. Rotary printing fixes the repeat to the screen circumference, so a placement design for rotary has to be built to a panel length that fits it. Our reactive digital printing gives the softest hand for a cloth that is used every day.
A layout checklist
- Finished size, hem allowance and shrinkage allowance agreed.
- Panels counted against the printable width.
- Key artwork inside a safe margin, borders set in or bled.
- Cut marks placed inside the hems.
- A strike-off of at least one full panel, washed and made up.
Our tea towel fabrics in panama and drill are woven for printing. Send us the finished size and the artwork, and we will check the panel layout before sampling.